- Posted on
- • Performance
The Ultimate Guide to Restoring Your Classic Motorcycle
- Author
-
-
- User
- Torque
- Posts by this author
- Posts by this author
-
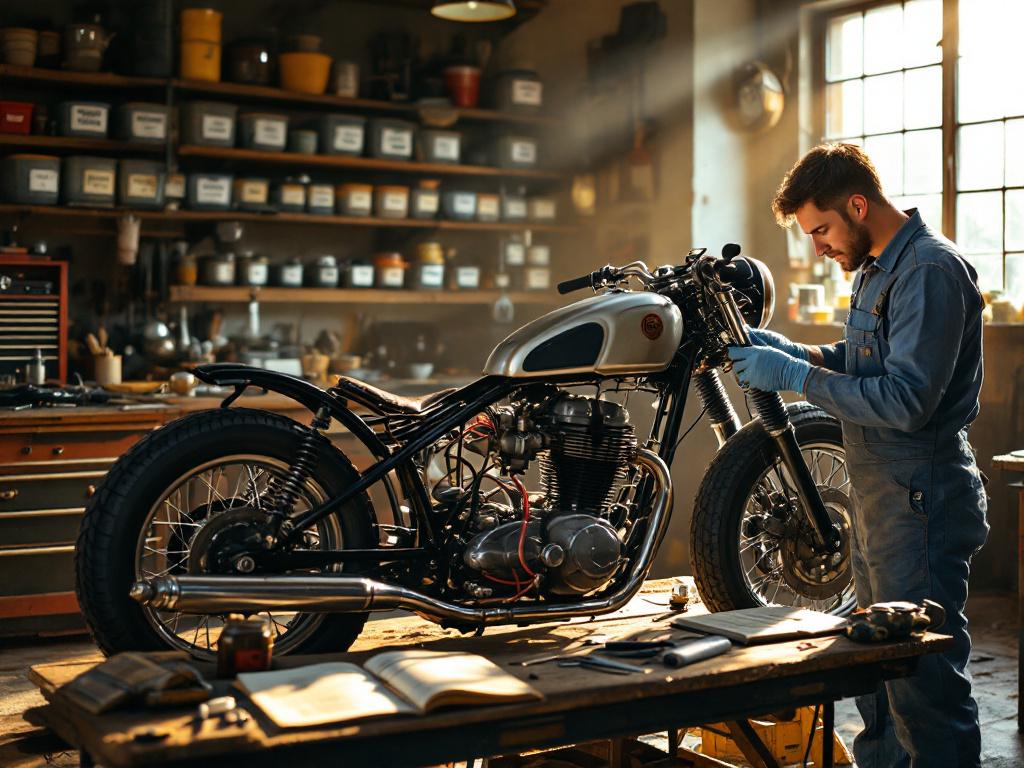
Restoring Your Classic Motorcycle: A Step-by-Step Guide
What Makes a Good Project Bike
Start with a machine that matches your goals, your ideas and your skill level. For everyday riding, a mid‑1970s Honda CB750 or the legend RD350, early‑'80s Yamaha XS650 works well—parts are plentiful and help is just a forum post away. These models are common, so you're less likely to end up hunting rare components.
Initial Frame Check
Before you remove a single bolt, inspect the frame. Roll the bike onto a stand and lay a straightedge along the top tube and swingarm. Look for warps near the headstock and rear pivot—small bends here can hide costly issues.
Repairing Frame Issues
If you find a crack in a weld, trim back to clean steel and weld in a tube section of the same diameter. Grind it smooth, then apply rust‑inhibiting primer before painting. This stops the corrosion cycle early.
Engine Rebuild: The Basics
Assuming you're rebuilding a four‑stroke, here's a clear breakdown:
Cylinder Inspection
Measure cylinder wear in three spots with a micrometer. If wear exceeds factory limits (often around 0.8 mm), send it out for rebore.
Piston Clearance
Check piston clearance: Air‑cooled engines typically need around 0.02 mm. Too tight invites seizure; too loose wastes compression.
Ring Gap Setup
Ring gap setup: Drop the ring into a cold bore, mark it, then file to spec—usually about 1.5 mm for a 67 mm bore.
Honing Process
Hone for cross‑hatch at about 30°. This helps oil cling to the walls and ensures a smoother run‑in.
Organization Tips
Label every part as you dismantle, take photos, and keep fasteners organized—trust me, reassembly is easier when you don't guess where things go.
Suspension: Keep It Steady
Factory twin‑shock setups are fine for relaxed riding. If you want sharper handling, consider:
Rebuilding Original Shocks
Rebuilding original shocks: Replace seals and springs; you'll retain the classic look and feel.
Modern Suspension Upgrades
Upgrading to modern units: Adjustable shocks give finer control over ride stiffness and damping.
Fork Maintenance
Whatever you do, replace fork oil and check bushings. Loose front ends or shaky steering often trace back to worn internals.
Taming the Fuel System
Carbs often choke on old varnish. One quick method is ultrasonic cleaning—it clears out delicate passages better than harsh solvents. Once cleaned:
Float Level Adjustment
Set float levels (most fall around 28–30 mm top‑of‑float measurement).
Jet Testing
Test main jets—on a CB750, a #122 jet might yield mid‑30 mpg. Dropping to a #118 jet could boost 5–7 mpg, but inspect plugs for lean‑burn signs.
Fuel Line Maintenance
Clear fuel‑line sections ahead of the petcock help spot debris before it clogs bowls.
Rewiring for Reliability
Old wiring turns brittle. I've learned it's worth replacing the entire harness with a reproduction kit—each costs around $150–$200 but cuts down surprise shorts.
Electrical System Choices
Decide early: keep 6 V for authenticity or convert to 12 V for brighter lights and easier winding. If you go 12 V, swap the generator and regulator/rectifier accordingly. Consider an electronic ignition kit—it's a small cost for fewer points‑adjustment headaches.
Final Finish and Paint
Good prep makes paint last. Strip grease and old finish, then repaint tanks, fenders, or the frame. Powder‑coat lasts longer but costs more upfront. Reapply quality decals and top with a clear coat—this keeps edges guarded against chips.
Tracking Costs & Parts
An average rebuild budget breaks down roughly like this:
| Item | Estimated Cost (USD) |
|---|---|
| Engine gasket kit | $125 |
| Cylinder rebore (per cyl.) | $200 |
| Wiring harness | $175 |
| Shock rebuild (each) | $80 |
| Paint & powder-coat | $400–$600 |
| Seat upholstery | $90 |
Set up a simple spreadsheet: list all the parts, their cost, suppliers list, and ETA. This will helps you anticipate overruns before they bite.
Your Restoration, Completed
Work steadily, Work and concentrate on just One Thing at a Time. Don't try to fix everything all at same time frame! Just keep it simple and go step by step. Here's an easy way to do it:
Restoration Sequence
- Start with the frame – Make it solid first.
- Then do the engine – Get the power going.
- Next, fix the suspension – Keep it nice and smooth.
- Work on the carbs – Make sure it runs well.
- Sort the wiring – Keep it safe and hooked up.
- End with the paint – Make it look good last.
Trust me, doing simply one thing at a time keeps you from feeling flooded and tired. It's also easier to spot little problems before they get big. You've got this!
Get Real Help from Clubs and Forums
You're not alone in this. If you're in the UK, groups like the Vintage Motor Cycle Club (VMCC), founded in 1946 and now with over 10,000 members, are full of people restoring bikes just like yours. Over in the US, the Antique Motorcycle Club of America (AMCA) has around 12,000 members, virtual libraries, local chapters, and national meetups that offer advice and parts. Online Forum "Torque Induction" ***https://www.facebook.com/torque.inductions***
Club Benefits
These clubs host workshops, publish magazines with build tips, and hold swap meets where you can find used parts or just talk shop with someone who's been there. I've often found that a quick post in one of these forums—"I'm stuck on primary chain adjustment"—will bring back helpful replies within hours.
End with a Bike You Can Be Proud Of
Once everything's done, the bike you ride (or display) will carry both the design and feel of its era and your own story. Every wiring loom you replaced, every carb jet you adjusted, adds a personal stamp.
Whether you're rolling down a country road or showing it at a local meet, it's a machine shaped by decades of history—and now, by your own hands. It's more than just a bike; it's a piece of living craftsmanship. Enjoy every bolt turned, each ride out, and the story you're carrying forward.